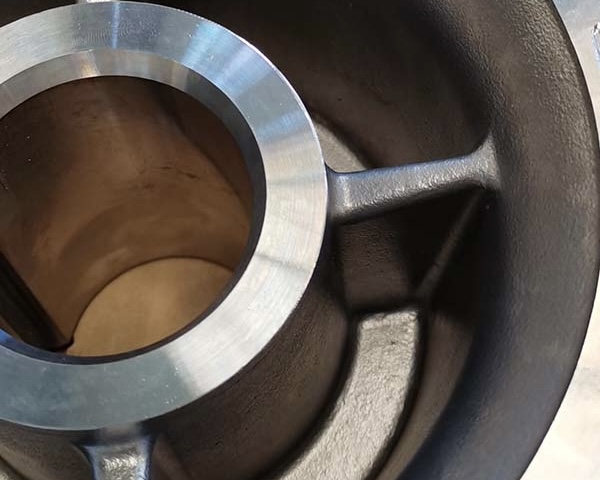
During the solidification process of castings, due to the liquid shrinkage and solidification shrinkage of alloys, cavities are likely to appear in the last solidified regions of the casting. Large and concentrated cavities are referred to as shrinkage cavities (commonly called shrinkage), while small and dispersed cavities are referred to as shrinkage porosity (commonly called porosity). Shrinkage cavities are irregular in shape, with rough surfaces, and often exhibit developed dendritic crystal tips, which distinguishes them from gas pores.
The presence of shrinkage cavities or porosity in castings not only reduces the effective load-bearing cross-sectional area, but also causes stress concentration at the defect sites, thereby lowering the mechanical properties of the casting. In addition, it decreases other properties such as air-tightness. For pressure-resistant castings, the existence of shrinkage porosity can lead to leakage or failure to meet sealing requirements, which may ultimately result in rejection of the casting. Therefore, shrinkage cavities and porosity are among the major defects in castings and must be prevented.
Mechanism of Formation of Shrinkage Cavities and Porosity
Shrinkage cavities and porosity occur due to the shrinkage of metal during solidification, but the mechanisms vary depending on the type of metal.
1.Mechanism of Shrinkage Cavity Formation
Since different alloys have different properties, the mechanisms of shrinkage cavity formation also differ.
1) Alloys without volume expansion during solidification.
This category includes cast steel, white cast iron, aluminum bronze, and other alloys with a narrow crystallization temperature range. After the molten metal fills the mold, heat transfer through the mold walls causes its temperature to decrease. The molten metal solidifies progressively layer by layer from the surface inward. If the shrinkage during cooling and solidification is not compensated, a shrinkage cavity will form in the last solidified region of the casting.
2) Gray cast iron and ductile iron.
During the eutectic solidification of gray cast iron, graphite precipitates in flake form. The tips of graphite flakes grow preferentially in the eutectic liquid, and the associated volumetric expansion mostly acts directly on the interdendritic liquid or eutectic liquid, thereby pushing the liquid metal through the dendritic channels to compensate for shrinkage cavities caused by liquid and solid shrinkage. This phenomenon is known as the self-feeding ability of gray cast iron.
Furthermore, the expansion pressure generated by graphite growth is ultimately transmitted to the mold surface through austenite or eutectic colonies, which causes the mold cavity to expand—a phenomenon known as pre-shrinkage expansion. However, since gray cast iron tends to solidify in a “middle solidification mode,” an already solidified shell is present in the mid-stage of solidification, capable of resisting a certain degree of graphite expansion pressure. Therefore, the pre-shrinkage expansion in gray cast iron can generally be neglected.
Thus, the self-feeding ability of gray cast iron reduces its tendency to form shrinkage cavities. Only when the combined effect of liquid shrinkage and solidification shrinkage exceeds the combined effect of graphite expansion and solid shrinkage will shrinkage cavities form; otherwise, they will not.


2. Mechanism of Porosity Formation
In the final stage of solidification, the residual molten metal in the last solidified region experiences a small temperature gradient, causing it to solidify simultaneously according to the isothermal solidification principle. Numerous small grains nucleate in the melt; as these grains grow and connect with one another, the remaining liquid metal is divided into isolated small pools. Since these small pools cannot receive further feeding during subsequent cooling and solidification, many tiny cavities are formed—this is shrinkage porosity.
Shrinkage cavities and porosity are therefore caused by insufficient feeding of molten metal during cooling and solidification. In practice, almost all casting alloys may experience shrinkage cavities, porosity, or both simultaneously. Generally, alloys with a narrow crystallization temperature range are prone to shrinkage cavities, while alloys with a wide crystallization temperature range are prone to porosity.
Shrinkage porosity can be classified into three types according to its distribution:
Dispersed porosity – Fine pores uniformly distributed throughout most of the casting volume, often occurring in thick sections of slowly cooled castings made of alloys with a wide crystallization temperature range.
Axial porosity – Typically found along the centerline of castings with uniform cross-sections, such as plates and columns.
Localized porosity – Found in sections of castings that cannot be fed properly, such as localized heavy sections, near ingates, or close to shrinkage cavities.
Determination of Shrinkage Cavity Location
Shrinkage cavities typically occur in the last solidified region of a casting. Identifying their location is crucial for proper riser and chill design. In production, two methods are commonly used: the iso-solidus method and the inscribed circle method.
1. Iso-solidus method
This method is generally applied to relatively simple castings. It assumes equal cooling rates in all directions of the casting, with progressive solidification layer by layer, and that the top of the casting remains unsolidified. The solidification front is considered as the boundary between solid and liquid phases, called the iso-solidus line (or isothermal line). In this method, iso-solidus lines are drawn on the casting cross-section, progressing inward from the cooling surface in parallel layers until the lines intersect. The region where the iso-solidus lines have not yet connected is the final solidification zone, which is where shrinkage cavities are most likely to form.
2. Inscribed circle method
This method is often used to determine shrinkage cavity locations at casting wall intersections. At the junction of two walls, if the diameter of the inscribed circle is greater than the thickness of either wall, this circle is referred to as a hot spot. Based on empirical data, the diameter of the inscribed circle is typically enlarged by 10–30 mm. The center of this circle is often the location where shrinkage cavities will form.
Post time: Aug-28-2025

